Quick contact info

Ignite Construction is a leading renovation and construction company serving Vancouver and Richmond. With a commitment to quality and innovation, we transform spaces with precision and passion. Whether it’s residential or commercial projects, our expert team delivers exceptional results tailored to your vision.

icon_widget_image Monday-Friday: 9am to 5pm Saturday: Closed, Sunday: Closed icon_widget_image 2560 Simpson Rd #190, Richmond, BC V6X 2P9 icon_widget_image + (604) 518-7788 icon_widget_image [email protected]

Expert Tile Installation Services

0{{current_slide_index}} Transform your Vancouver home with our meticulous tile installation services, where every piece is placed with precision to create stunning, durable results.

Precision Craftsmanship

chevron_left chevron_right

Comprehensive Tile Services for Every Space

0{{current_slide_index}} From intricate bathroom mosaics to expansive kitchen floors, our skilled Vancouver team brings your vision to life with a wide range of tile installation options for any surface and style.

Versatile Tiling Solutions

chevron_left chevron_right

Durable Tile Installation Guaranteed

0{{current_slide_index}} We use premium materials and proven techniques to ensure your Vancouver tile installation not only looks beautiful today but stands up to years of use, backed by our satisfaction guarantee.

TILE QUALITY THAT LASTS

chevron_left chevron_right
scroll 0{{total_slide_count}}
tile installation vancouver tile installation

Ignite Construction: Expert Tile Installation Services

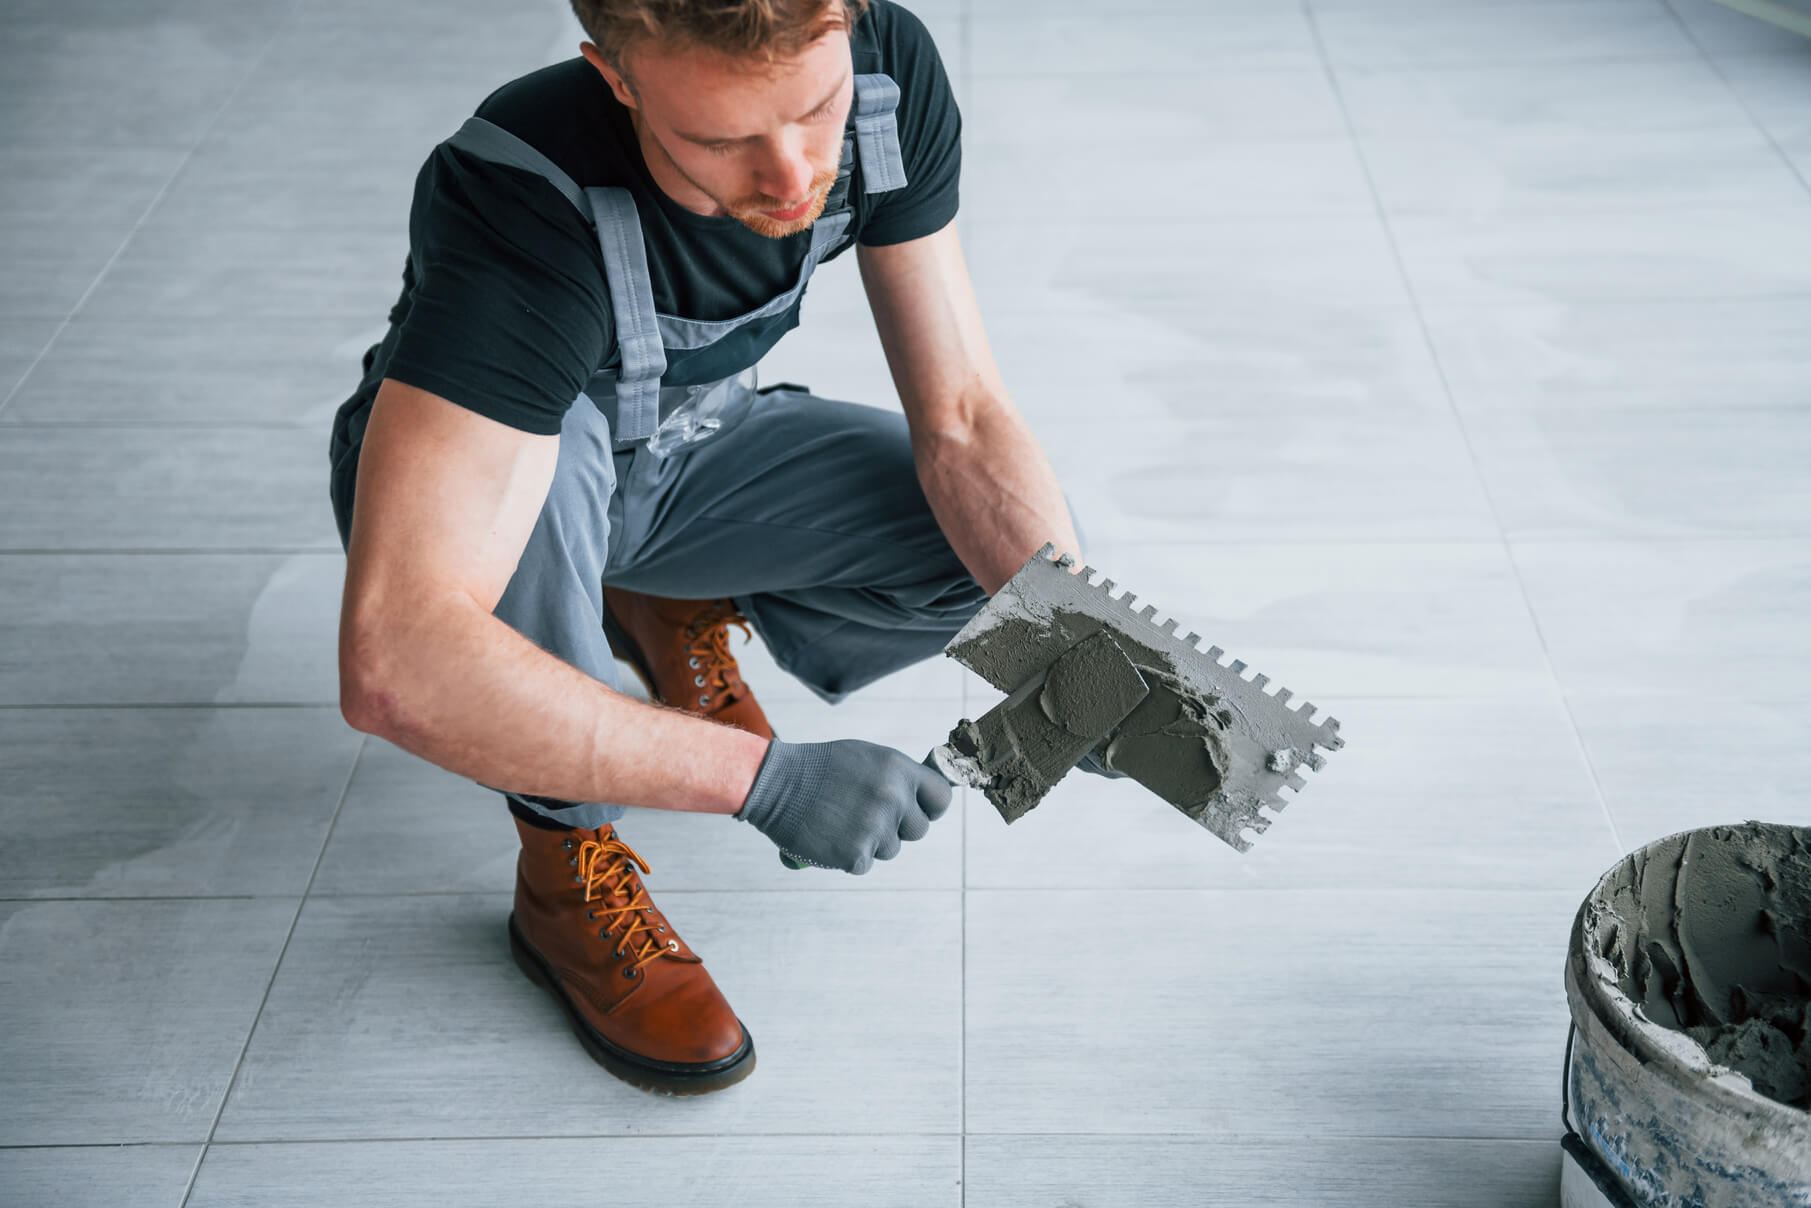
 At Ignite Construction, we’re not just tile installers – we’re craftsmen dedicated to transforming your space with expert tile installation services. Our team of skilled tile installers brings years of experience and an eye for detail to every project, whether it’s a sleek bathroom renovation or a stunning kitchen backsplash. We understand that proper tile installation is both an art and a science, requiring precision, patience, and the right techniques. From meticulous surface preparation to the final grout seal, we ensure every step of the tile installation process is executed flawlessly. Our expertise covers a wide range of tile types and patterns, allowing us to bring your vision to life while adhering to the highest industry standards. With Ignite Construction, you’re not just getting tile installation – you’re investing in quality, durability, and beauty that will enhance your home for years to come. Let our professional tile installers turn your ideas into reality and create a space that truly shines.

Precision in Every Detail

Our skilled professionals ensure every detail is executed to perfection, delivering high-quality results.

Tailored to Your Design

We offer personalized design solutions tailored to your unique style and needs.

Clarity and Confidence

Enjoy peace of mind with clear and upfront pricing, ensuring no hidden costs.

Timely Completion

Our efficient project management guarantees your bathroom renovation is completed on schedule.

tile installation vancouver bc

Transforming Your Space with Professional Tile Work

Expert Tile Installation for Every Space

    • Hey there! Looking to spruce up your home with some gorgeous new tiles? You’ve come to the right place. We’re not just your average tile installers – we’re passionate about turning your vision into reality. Here’s why folks in your city trust us with their tile projects:


    • We’ve got years of experience under our belts
    • Our team is as friendly as they are skilled
    • We use top-notch materials that’ll stand the test of time
    • Our prices won’t break the bank

Expert Tile Installation for Every Space

Flawless Tile Installation for a Lasting Finish

Transform your home with our professional tile installation services. Whether it’s a kitchen backsplash, bathroom flooring, or any other tiling project, our skilled team ensures precise cuts and a seamless finish that will stand the test of time. With a wide variety of tile materials and designs to choose from, we’ll help you create a custom look that matches your style and needs. Let us handle every detail, so you can enjoy stunning, durable results.
tile installation lower mainland

Types of Tiles

Transform Your Space

Why Choose Our Tile Installation?

Our Tile Installation Services

Kitchen Backsplashes That Pop

Want to add some pizzazz to your kitchen? Our backsplash installations are just the ticket. From sleek subway tiles to intricate mosaics, we’ll help you create a kitchen that’s uniquely you. And the best part? We’ll have it done before you can say “What’s for dinner?”

Bathroom Transformations

Let’s face it – your bathroom should be a relaxing oasis, not a tired old space. Whether you’re dreaming of a spa-like shower or a statement floor, we’ve got you covered. We’ll handle everything from waterproofing to those tricky corners, ensuring your new bathroom is both beautiful and functional.

Flooring That Wows

Nothing says “welcome home” like stunning tile floors. Whether you’re into classic ceramic, luxurious marble, or trendy porcelain, we’ll install floors that’ll make your neighbors green with envy. And don’t worry about the mess – we’ll leave your home cleaner than we found it!

The Tile Installation Process: What to Expect

Wondering what it’s like to work with us? Here’s a sneak peek:

  1. We’ll chat about your ideas and give you a free, no-pressure quote
  2. Once you’re ready, we’ll schedule a time that works for you
  3. Our team will show up on time, ready to work their magic
  4. We’ll keep you in the loop throughout the installation
  5. Before you know it, you’ll be enjoying your beautiful new tiles!

Why Tile? The Benefits of Choosing Tile for Your Home

Still on the fence about tile? Here’s why it’s a smart choice:

  • Durability: These bad boys can handle whatever life throws at them
  • Easy cleaning: A quick wipe, and they’re good as new
  • Endless design options: From classic to contemporary, there’s a tile for every style
  • Increased home value: Potential buyers love well-installed tile!

Ready to Get Started?

Don’t let your dream space remain a dream! Give us a call or shoot us a message today. We can’t wait to help you create a home you’ll love for years to come. Remember, when it comes to tile installation in [Your City], we’ve got you covered – literally!
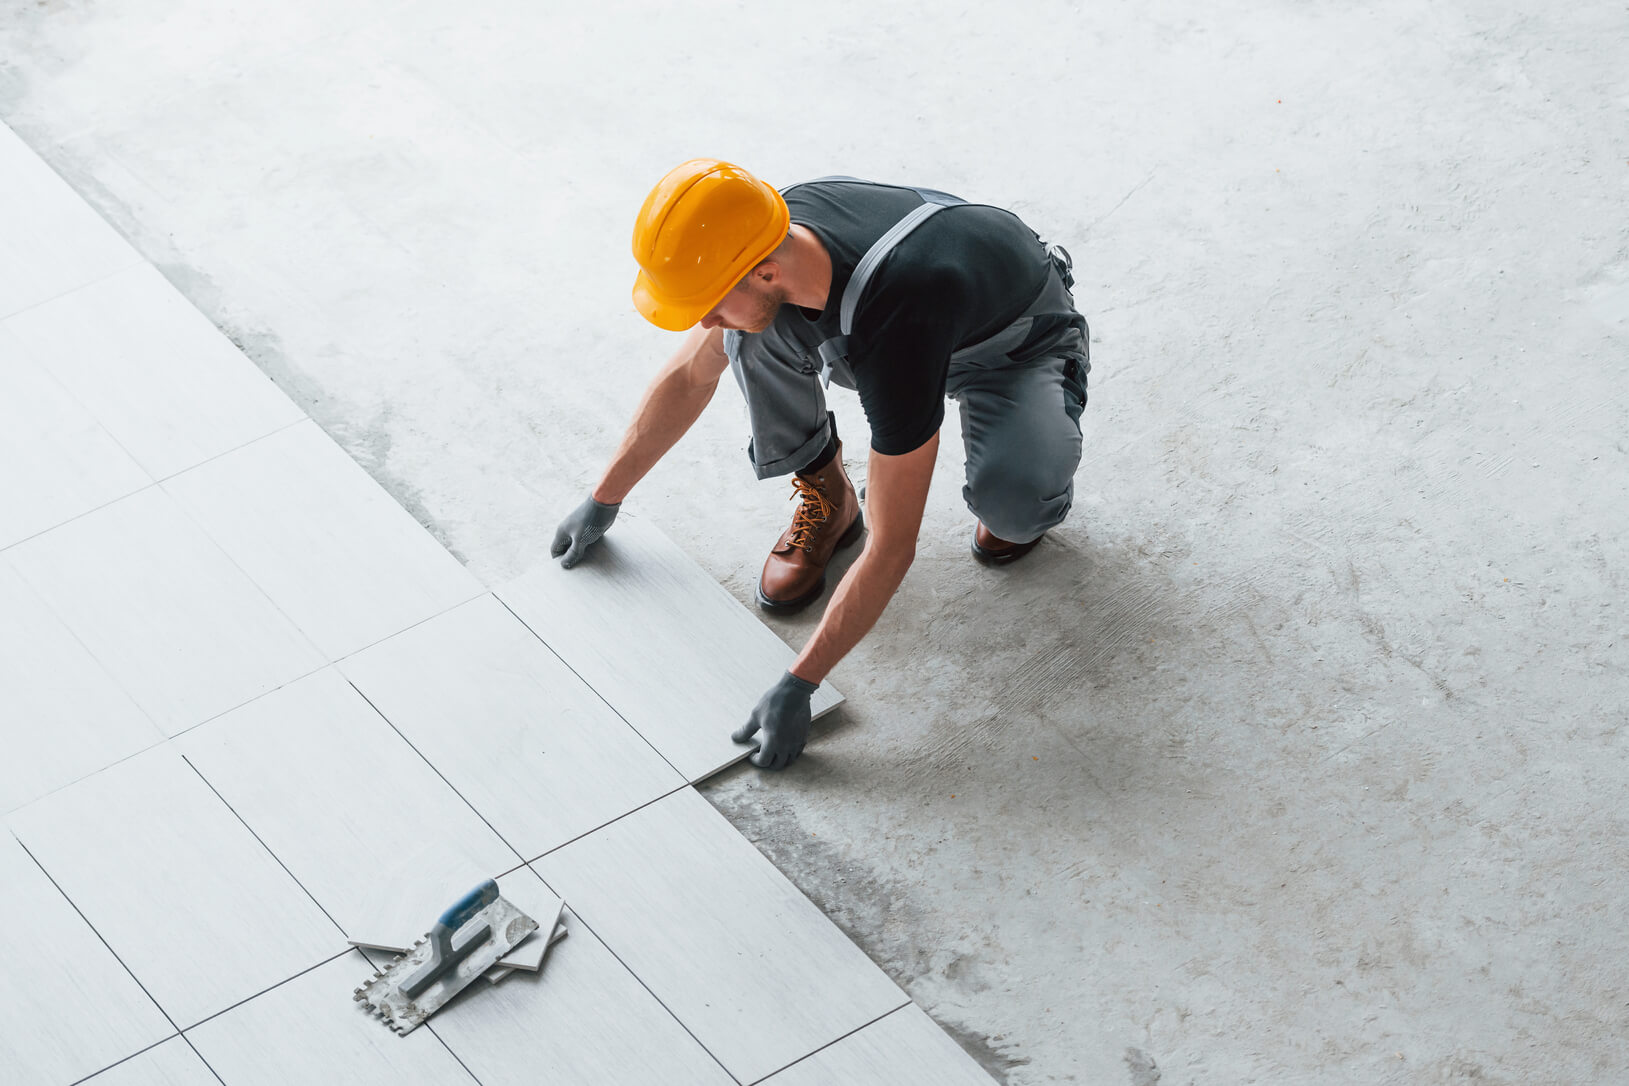
flawless tile installation

16 Major Tile Installation Questions

What is the 3-4-5 rule for tiling?

The 3-4-5 rule is a crucial method for ensuring your tile layout is perfectly square. It's based on the Pythagorean theorem and is essential for professional-looking results. Here's how to apply it:

  • Measure and mark 3 feet along one wall from the corner.
  • Measure and mark 4 feet along the perpendicular wall from the same corner.
  • Measure the diagonal between these two points. If it's exactly 5 feet, your corner is square.
  • If not, adjust your lines until the diagonal measures 5 feet.

This rule can be scaled up or down (e.g., 6-8-10 for larger rooms) while maintaining the ratio. Using this method ensures your tiles will align properly and look professional throughout the installation.

Can I install tile myself?

While it's possible to install tile yourself, it's a challenging task that requires careful planning, the right tools, and a significant time investment. Here's what you need to consider:

  • Proper surface preparation is crucial. This includes ensuring a level subfloor, which may involve self-leveling compounds.
  • You'll need specialized tools like a wet saw for cutting tiles, a notched trowel for applying adhesive, and a rubber float for grouting.
  • Precise measurements and layout planning are essential to avoid awkward cuts or uneven spacing.
  • Different types of tiles (ceramic, porcelain, natural stone) require different installation techniques and materials.
  • Mistakes can be costly and time-consuming to fix.

For simple, small areas with standard-sized tiles, a DIY approach might work. However, for large areas, complex patterns, or expensive materials, hiring a professional is often more cost-effective in the long run.

Why is a 50% tile pattern not recommended?

A 50% offset pattern (also known as a brick or running bond pattern) is not recommended for large format tiles (typically tiles larger than 15 inches) for several reasons:

  • It can accentuate any lippage (unevenness between tiles) due to natural warping in larger tiles.
  • The center of one tile aligns with the edge of another, which is where warping is most noticeable.
  • It can create shadows and visual unevenness, especially with side-lighting.
  • It puts more stress on the tiles during installation, potentially leading to cracking.

Instead, a 33% (or 1/3) offset is often recommended for large format tiles. This pattern minimizes the visual impact of any warping and reduces stress on the tiles. For very large tiles, even smaller offsets like 25% or 20% might be suggested.

How are tiles installed?

Tile installation is a multi-step process that requires attention to detail:

  1. Surface Preparation: Clean the surface thoroughly and repair any damage. Ensure it's completely level, using self-leveling compound if necessary.
  2. Layout Planning: Measure the room and plan the tile layout. Use the room's center point as a starting reference to ensure even borders.
  3. Apply Adhesive: Use a notched trowel to apply tile adhesive (thinset mortar) to a small section of the floor. The notches create ridges that help with tile adhesion.
  4. Set Tiles: Place tiles into the adhesive, using spacers to maintain even gaps. Use a level to ensure tiles are flat and even with each other.
  5. Cut Tiles: Use a wet saw or tile cutter for any necessary cuts around edges or obstacles.
  6. Allow to Dry: Let the adhesive dry completely according to manufacturer instructions (usually 24-48 hours).
  7. Grouting: Mix and apply grout between the tiles using a rubber float. Wipe away excess with a damp sponge.
  8. Sealing: Once the grout has cured (usually after 72 hours), apply a sealer if necessary, especially for natural stone tiles.

This process requires patience and precision at each step to ensure a professional-looking result.

What are the golden rules of tiling?

The golden rules of tiling are essential principles that ensure a high-quality, long-lasting installation:

  1. Proper Surface Preparation: Ensure the surface is clean, dry, level, and structurally sound. This may involve repairing cracks, using a self-leveling compound, or installing a suitable substrate.
  2. Careful Planning: Measure the area accurately and plan your tile layout. Start from the center of the room and work outwards to ensure even borders.
  3. Use the Right Tools and Materials: Invest in quality tools like a notched trowel, tile spacers, and a good tile cutter. Use adhesives and grouts appropriate for your tile type and installation location.
  4. Maintain Consistent Spacing: Use tile spacers to ensure even gaps between tiles. This is crucial for a professional look.
  5. Work in Small Sections: Apply adhesive in manageable areas to prevent it from drying before you can set tiles.
  6. Check for Levelness: Use a level frequently to ensure tiles are flat and even with each other.
  7. Allow Proper Drying Time: Follow manufacturer instructions for drying times between steps (setting tiles, grouting, sealing).
  8. Clean as You Go: Wipe excess adhesive or grout promptly to prevent it from hardening on tile surfaces.
  9. Account for Expansion: Leave a small gap around the perimeter of the room to allow for natural expansion and contraction.
  10. Seal When Necessary: Apply sealant to grout lines and natural stone tiles to protect against stains and moisture.

Adhering to these rules will help ensure a professional-looking and durable tile installation.

What is the easiest tile pattern?

The easiest tile pattern for installation is the straight lay or grid pattern. Here's why it's considered the simplest:

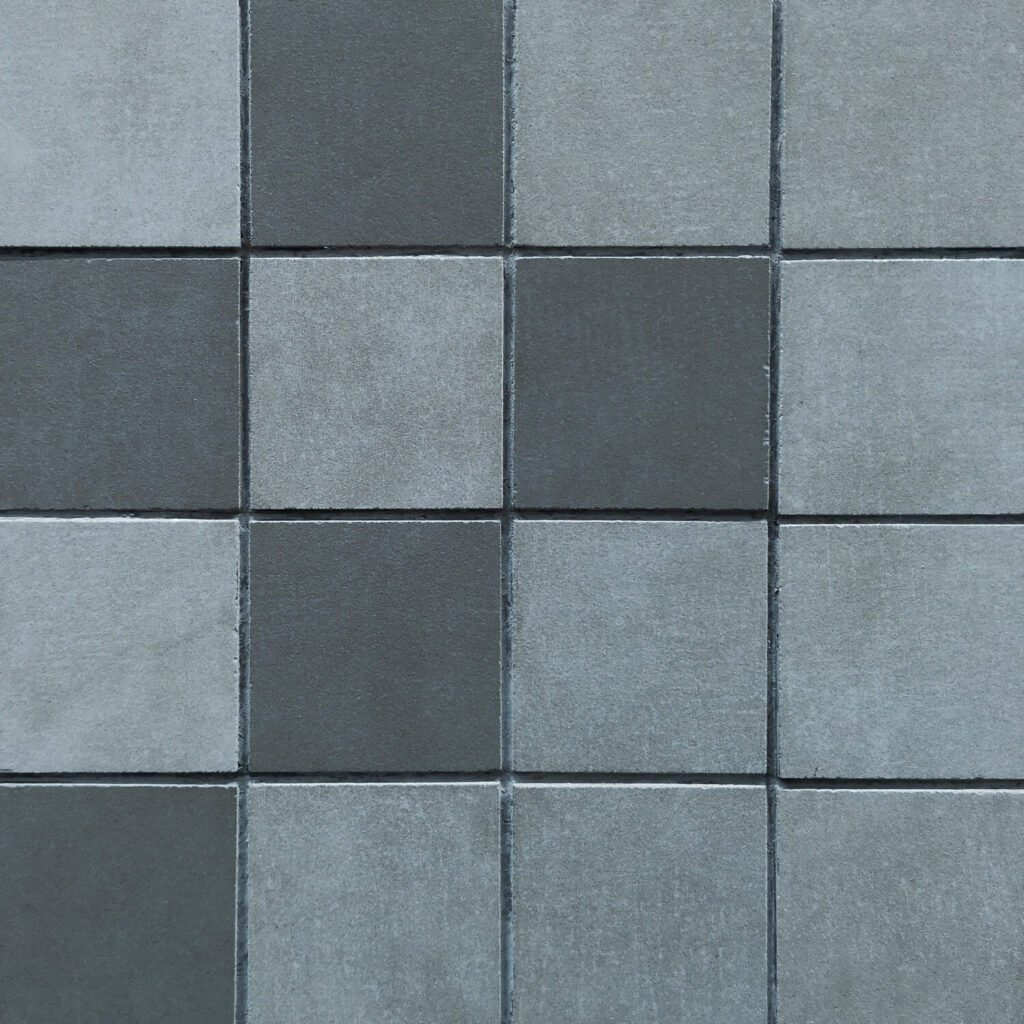
  • It involves laying square tiles in straight lines, creating a grid effect.
  • Tiles are aligned directly with each other, making it easier to maintain straight lines and even spacing.
  • It requires fewer cuts compared to more complex patterns, especially in square or rectangular rooms.
  • It's more forgiving of slight imperfections in the room's shape.
  • This pattern works well with most tile sizes and types.
  • It's particularly suitable for beginners or DIY enthusiasts.

While it's the easiest to install, the straight lay pattern can still look very attractive, especially with interesting tile choices or contrasting grout colors. It's commonly used in bathrooms, kitchens, and large floor areas.

How do you calculate tile spacing?

Calculating tile spacing is crucial for determining the number of tiles needed and achieving a balanced layout. Here's a step-by-step guide:

  1. Measure the Area: Measure the length and width of the area to be tiled in inches.
  2. Determine Tile Size: Note the dimensions of your chosen tiles.
  3. Choose Grout Line Width: Decide on your desired grout line width (typically 1/8" to 3/16" for floor tiles).
  4. Calculate Total Tile Width:
    Total Tile Width = Tile Width + Grout Line Width
  5. Calculate Number of Tiles:
    Tiles Across = Room Width ÷ Total Tile Width
    Tiles Down = Room Length ÷ Total Tile Width
  6. Round Down: Round these numbers down to the nearest whole number.
  7. Calculate Actual Coverage:
    Actual Width Coverage = Tiles Across × Total Tile Width
    Actual Length Coverage = Tiles Down × Total Tile Width
  8. Calculate Borders:
    Width Border = (Room Width - Actual Width Coverage) ÷ 2
    Length Border = (Room Length - Actual Length Coverage) ÷ 2

This calculation helps ensure your tile layout is centered and balanced, with equal borders on opposite sides of the room.

What is the most popular tile pattern?

While popularity can vary based on current trends and personal preferences, several tile patterns are consistently favored:

  1. Straight Lay (Grid): The simplest pattern, with tiles aligned in straight lines. Popular for its clean, modern look.
  2. Brick or Running Bond: Tiles are offset by half their length, like bricks. This pattern adds visual interest and is great for masking minor imperfections.
  3. Herringbone: Tiles are laid at 45-degree angles to each other, creating a V-shaped pattern. It's popular for adding sophistication and movement to a space.
  4. Chevron: Similar to herringbone, but tiles are cut at an angle to create a continuous zigzag. It's trendy for creating a bold, modern look.
  5. Basketweave: Alternating pairs of vertical and horizontal tiles create a woven effect. It's popular for adding a classic, timeless touch.
  6. Diagonal: Tiles are laid at a 45-degree angle to the room's walls, making spaces appear larger.
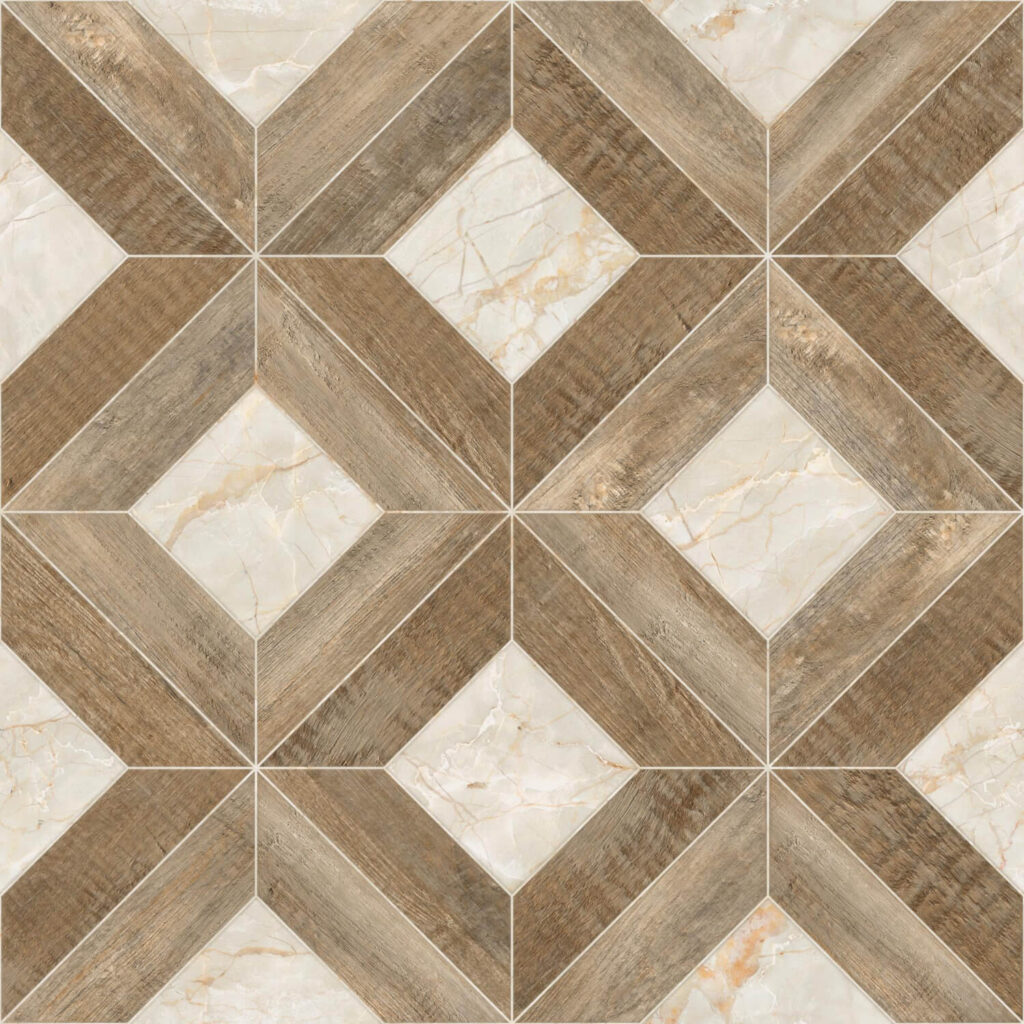
  7. Versailles Pattern: A repeating pattern using multiple tile sizes, popular with natural stone tiles for a luxurious look.

The choice of pattern can significantly impact the overall look of a space, and different patterns may be more suitable for certain room types or tile sizes. The most popular pattern often depends on current design trends and the specific context of the installation.

Why is tile installation so expensive?
  • Tile installation is pricey for a few reasons:
    1. It's a skilled trade. Tile setters typically charge $55-$78 per hour because it takes years to master the craft.
    2. It's labor-intensive. A lot of prep work goes into making sure the surface is perfectly level and ready for tile. Then there's all the cutting, laying, and grouting. It's not a quick job!
    3. Materials can be costly. Depending on the type of tile you choose, prices can range from a few bucks to over $100 per square foot.
    4. Specialized tools are needed. Wet saws, trowels, spacers - tile setters need a whole arsenal of tools to do the job right.
How much do they charge for tile installation?

On average, you're looking at about $10-$15 per square foot for labor alone. But here's the breakdown:

  • For basic ceramic tile in a simple pattern: $5-$7 per square foot
  • For more complex jobs or expensive materials: $20-$35 per square foot
  • Some pros charge hourly instead, usually $60-$120 per hour

Don't forget to factor in materials! All in, most tile jobs end up costing $10-$50 per square foot installed. How much do tilers charge per square foot in Canada? In Canada, tile installation typically runs about $13-$20 per square foot, all in. Labor costs usually fall between $3-$15 per square foot. For a 120 square foot space, you're probably looking at $1,500-$2,400 total.

How to save money on tile?
  1. Go for larger tiles. They cover more area quickly, which means less labor.
  2. Choose a simple pattern. Fancy layouts like herringbone take way more time (and money) to install.
  3. Prep the surface yourself. If you're handy, you can save on labor by doing demo and surface prep.
  4. Shop around for materials. Look for sales or discount tile outlets.
  5. Consider porcelain over natural stone. It's often cheaper and easier to maintain.
  6. Limit accent tiles. Those fancy mosaic borders look great but drive up costs fast.
How do you calculate tile installation?

Here's a quick and dirty way to estimate:

  1. Measure your space (length x width = square footage)
  2. Add 10% for waste and cuts
  3. Multiply by the cost of tile per square foot
  4. Add $10-$15 per square foot for labor
  5. Don't forget extras like grout, adhesive, and tools!

For a more precise estimate, get quotes from at least three pros in your area.

How long does a tile job last?

A well-done tile job can last decades! We're talking 20-50 years if it's installed correctly and maintained properly. That's why it's worth investing in quality materials and installation. How many years do tiles last? With proper care, most tiles will last:

  • Ceramic/Porcelain: 50+ years
  • Natural stone: 100+ years (with regular sealing)
  • Glass: 75-100 years
  • Cement: 50-100 years

The grout might need touch-ups every 10-15 years, but the tiles themselves are super durable.

How can you tell a bad tile job?

Look out for these red flags:

  1. Uneven surfaces - run your hand over the tiles. They should be smooth, not lippy.
  2. Inconsistent grout lines - they should be straight and even in width.
  3. Hollow sounds when tapped - this means the tile isn't fully bonded to the surface.
  4. Cracked or chipped tiles - a sign of poor installation or low-quality materials.
  5. Water stains or mold - could indicate improper sealing or waterproofing.
  6. Misaligned patterns - especially noticeable with geometric designs.
  7. Grout that's crumbling or falling out - shouldn't happen for years if done right.

Remember, a good tile job should look flawless and last for decades. If you're seeing issues within a few months or years, something's definitely off!

Preparing for tile installation?
  • Ensure the subfloor is clean, dry, flat, and structurally sound.
  • For plywood or OSB subfloors, install a water-resistant cement backer board as underlayment. Concrete subfloors typically don't require backer board.
  • Measure the area and plan your tile layout carefully.
  • Gather necessary tools and materials like tile cutter, rubber mallet, spacers, level, trowel, and appropriate mortar.
  • Mix tiles from different boxes to account for slight color variations.
Is it better to tile over plywood or cement board?

While some have successfully tiled directly over plywood, most experts recommend using cement board or an uncoupling membrane over plywood for several reasons:

  1. Cement board provides a better surface for tile adhesion.
  2. It's dimensionally stable and won't expand/contract like plywood, reducing the risk of cracked grout or loose tiles.
  3. Cement board is moisture-resistant, unlike plywood which can swell if it gets wet.
  4. It adds a fire-resistant layer.
  5. Using cement board is considered the standard of care in the industry.

If using plywood, experts recommend:

  • Using a thicker plywood layer (at least 3/4") for stability
  • Adding an uncoupling membrane like Ditra between the plywood and tile
  • Ensuring the subfloor structure is very stiff to minimize flexing

In summary, while it's possible to tile over plywood in some cases, using cement board or an appropriate membrane over plywood is generally considered the safer and more durable option for tile installation.

3 Tips for Tile Installation

Choosing the Right Tile for Your Project

Not All Tiles Are Created Equal

  • When it comes to tile installation, selecting the right type of tile is crucial. Different spaces have different needs. For instance, bathroom floors require tiles with good slip resistance, while kitchen backsplashes need tiles that can withstand heat and are easy to clean. Consider factors like durability, water absorption rate, and aesthetic appeal. Porcelain tiles are great for high-traffic areas due to their strength, while natural stone tiles can add a luxurious touch to any room. Don’t forget to factor in your budget and maintenance preferences too!

Proper Tools for Tile Installation

Tile Installation: Gear Up for Success

  • Having the right tools can make or break your tile installation project. Essential tools include a notched trowel for applying mortar, tile spacers for consistent grout lines, and a tile cutter or wet saw for precise cuts. Don’t forget a level to ensure your tiles are perfectly aligned, and a rubber float for applying grout. For larger projects, consider investing in or renting a tile leveling system – it can be a game-changer for achieving a flawlessly even surface, especially with large format tiles.

Dealing with Tricky Areas

Tackling the Tough Spots

  • Tile installation isn’t always straightforward, especially when you encounter obstacles like corners, edges, or fixtures. For tight spaces around toilets or under cabinets, you might need to make custom cuts using a tile nipper or a hole saw. When tiling around electrical outlets or switches, use tile spacers to maintain consistent gaps and consider special outlet extenders to bring them flush with your new tile surface. Remember, patience is key when working on these challenging areas – take your time to ensure a professional-looking finish.

Get In Touch

Name(Required)
Please let us know what's on your mind. Have a question for us? Ask away.
Hear us out!

Reach Out To
Ignite

Follow us on: